Panasonic GH4 Underwater Video Settings

The Panasonic GH4 captures incredible 4K video quality and color, rivaling cameras costing many times more. Having shot underwater video with the GH4 since it was released in 2014, I want to share with you what I have learned to get the most of this camera to be able to produce the best possible underwater films.
GH4 Basic Video Settings
Format & Quality
The first setting to make in the GH4 menu is the recording format and quality. Either MP4 or MOV should be selected for the format, and 4K-100MB/30P should be selected for the record quality. This mode actually records 3840x2160 pixel Ultra High Definition (UHD), which is the format and resolution of nearly all 4K TVs sold today. The GH4 is also capable of shooting Cinema 4K (4096x2160 pixels) for those who have a specific requirement for shooting at this resolution. Note that if you shoot in Cinema 4K but play the footage on your home 4K TV or display, you will either need to crop the footage or have black bars on the top and bottom of the screen. The framerate of 30p allows for the best capture of motion of aquatic sea life.
Photo Style
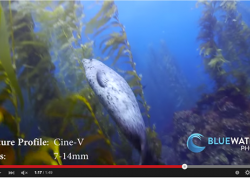
The next setting is Photo Style. The GH4 has many preset Photo Styles, each geared toward a specific style of filming. With a very capable camera like the GH4, I try to get the best possible image in camera at the time that I am filming. For this I choose the Cinelike V Photo Style. While delivering a very useable clip, it also allows for making adjustments in post without deteriorating the quality of the footage.
Exposure Mode
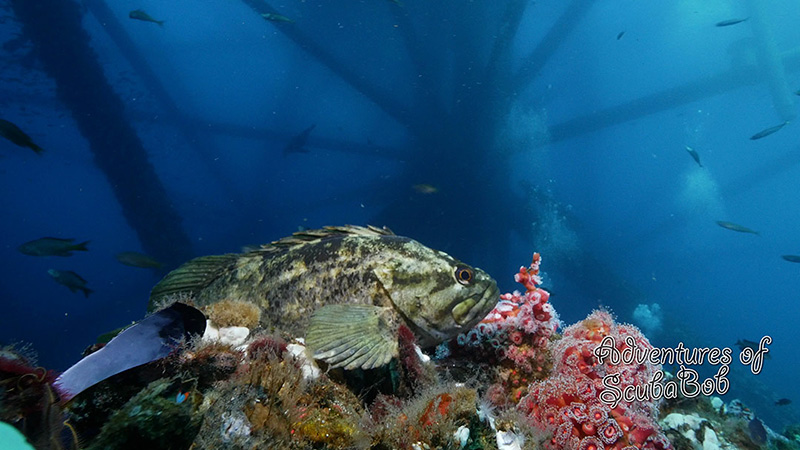
The final basic setting is Exposure Mode. I choose to shoot video in the full manual (M) mode. This allows me to control all aspects of exposure, and match it for each shot. This also ensures that your exposure will not fluctuate as slight changes to ambient light occur. The one exception I have for shooting in this mode is when I’m trying to film a fast moving subject (like a sea lion). For that situation, where the background and ambient light is constantly changing the shutter priority (S) mode may be a better option.
Panasonic GH4 Focus Settings
After much experimenting with the focus modes on the GH4, I have settled on using manual focus much of the time. Two of the lenses I shoot with regularly, the Olympus 60mm macro and the Panasonic 7-14mm allow for manual zoom control. Whether I’m using these lenses or the Olympus 12-50mm lens (my go-to lens when I can’t make my mind up on shooting macro or W/A), I always start with using the camera’s autofocus to get me as close as possible, then make any fine manual adjustments needed using the manual focus knob or distance to the subject (for the 12-50mm lens), before finally framing my shot and recording. The focus peaking feature of the GH4 helps with this (more on that below).
One “trick” I’ve learned to get the most out of manual focus on the GH4 is utilizing back button focus. Most DLSR/M4/3 cameras allow for back button focus. This essentially turns off the autofocus that occurs when partially or fully pressing down on the shutter button. Instead, focus is assigned to another button on the back of the camera. To set up the GH4 for back button focus, follow these steps:
- Change the “Shutter AF” custom menu option to OFF. This stops the auto-focus from engaging when pressing the shutter button.
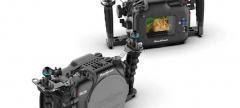
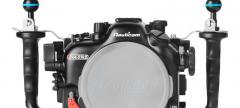
- Change the AF/AE Lock custom menu option to AF-ON. This causes the camera to auto-focus when the AF/AE LOCK button is pushed. The Nauticam NA-GH4 housing has a large thumb-controlled lever for pressing this button. My thumb rests on this lever most of the time I’m filming so that I can engage back-button focus as needed.
Now you have the ability to autofocus with the camera while in autofocus or manual focus modes. I shoot in manual mode when I want to lock focus for the entire shot. If I have a slow moving subject, or one that I can keep the camera centered on, I use autofocus mode, and hold down the AE/AF lock button to keep refocusing on the subject. When in autofocus mode, push the Fn3 (AE Mode) button to select either Pinpoint or 1-Area. The cursor for the focus can also be moved to anywhere on the screen depending on where you would like your subject to be framed. This also allows you to hold down the AE/AF LOCK button to track focus for you while you are shooting, with less of a chance of the camera hunting due to an ever-changing background.
Important GH4 Menu Settings/Tips
Three other menu settings are a MUST when shooting video with the GH4. The first is (focus) Peaking in the custom menu. Changing this setting to ON causes your display to highlight (using yellow, blue or green) the areas of the image that are in focus. Next is the Zebra pattern. This shows the areas of your frame that are likely to be overexposed. Two zebra patterns are available, and the sensitivity can be manually selected. Finally, the Histogram custom menu setting should be set to ON. This displays a histogram while filming.
While the GH4 does a great job at displaying the various icons for your current settings and exposure controls, sometimes all of that information can get in the way. Pressing the DISP (display) button cycles through various LCD display modes, including one that removes all icons/text, and only shows what the camera is capturing (plus any grid lines for composition, if you are using them).
GH4 Underwater Video
My hope is that these settings will improve your underwater video footage from the Panasonic GH4, and also challenge you to think of other settings that the GH4 offers that will help in your style of underwater videography.
2014-September-2 Day Northern Channel Islands with BlueWater Photo from ScubaBob on Vimeo.
Oil Rigs: Thriving Life from ScubaBob on Vimeo.
RECOMMENDED ARTICLES
SUPPORT THE UNDERWATER PHOTOGRAPHY GUIDE:
The Best Service & Prices on u/w Photo Gear
 Visit Bluewater Photo & Video for all your underwater photography and video gear. Click, or call the team at (310) 633-5052 for expert advice!
The Best Pricing, Service & Expert Advice to Book your Dive Trips
 Bluewater Travel is your full-service scuba travel agency. Let our expert advisers plan and book your next dive vacation. Run by divers, for divers.


