Ambient Photography: An Artist’s Pursuit for the Most Natural Underwater Photography
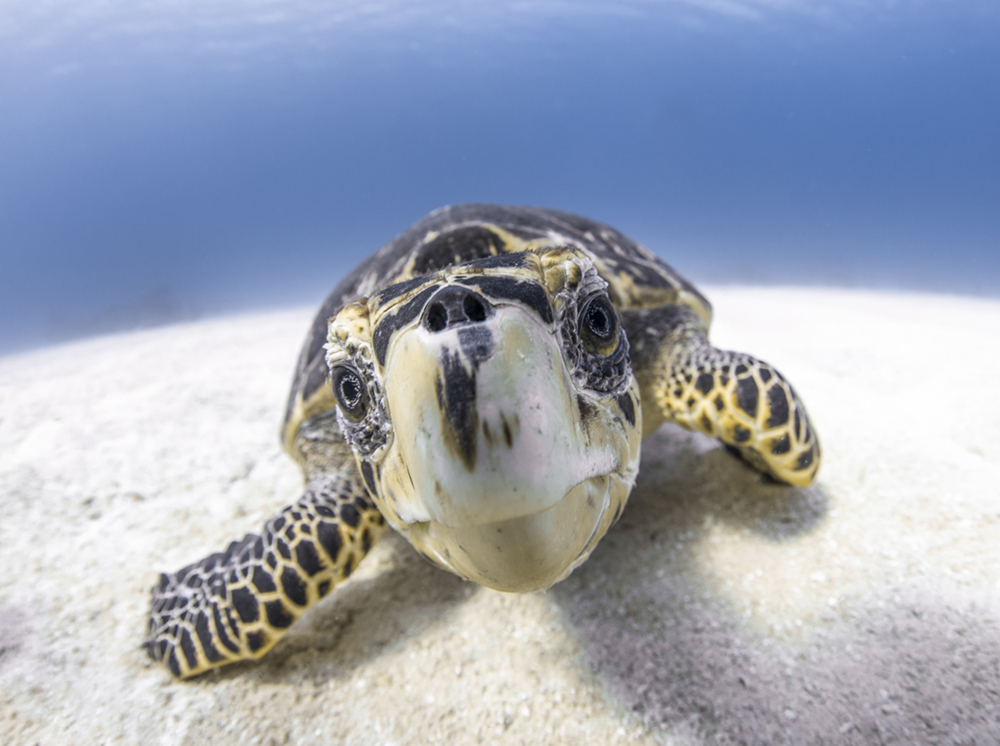
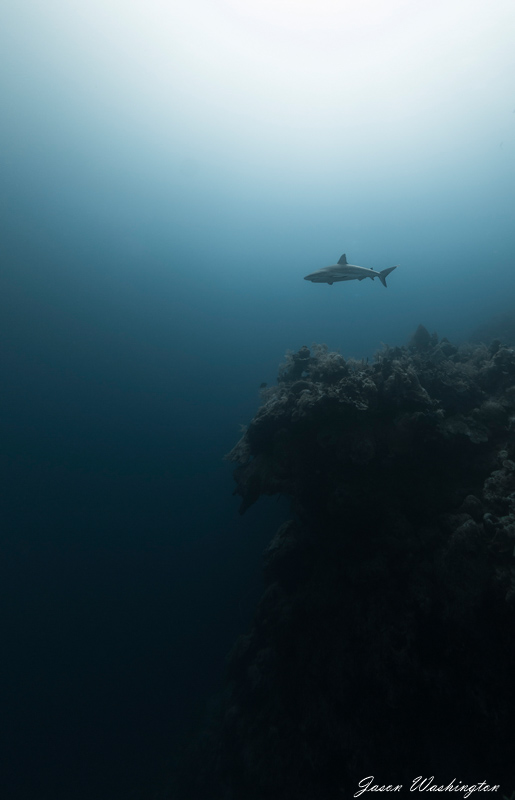
Surrounded by two thousand meters of crystal-clear cobalt blue water, the Cayman Islands (pronounced “K-Man” for those of you who want to fit in with us locals) are home to some of the best visibility found anywhere on planet earth. These three small islands aren’t home to the usual environmental factors impacting water clarity found in other popular diving destinations. The lack of rivers, lack of neighbors, and a deep bottom where all the suspended particles can sink out of sight are all reasons that make ambient light photography a great choice when diving Cayman.
A little less battery power and a little more solar power
This style of photography might not be your cup of tea. Many enjoy the challenge of lighting an underwater scene by illuminating the phenomenal colors found on a reef with artificial light. I must admit, I also found this appealing for many years. Like other things in life, my tastes changed as I grew older. Now my search for the perfect underwater image calls for a little less battery power and a little more solar power. This likely comes from an extensive background in underwater videography. Years of shooting ambient light underwater video gave me an appreciation for the natural look found beneath the surface. It’s not to say that I don’t shoot artificial light. I do. But I much prefer the natural tones found without the use of powerful lights. Dark blue backgrounds and bright colorful sponges are without a doubt beautiful, but it’s not what I see with my eye while diving.
What to consider when taking ambient light photos
When considering ambient light photography, you must first ask yourself a few simple questions.
Firstly, does the dive destination have decent visibility?
Murky, turbid water is not the best place for this style of photography.
Secondly, how much ambient light can be expected at depth?
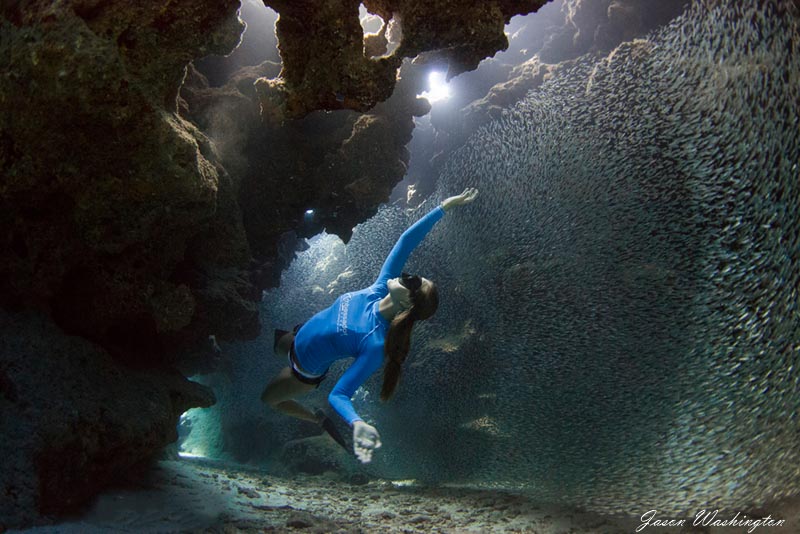
If you’re cave or night diving, break out the strobes.
And lastly, can the camera preform a custom white balance?
This is not absolutely necessary, but if your rig isn’t capable of this, you should probably think about lights and/or filters.
The Pros and Cons of Ambient Light Photography
Pros
Streamlining
When considering the advantages of ambient light photography, several things come to mind.First, this type of photography utilizes less gear. Less gear means more money in your pocket. More money means more dive travel! More dive travel means more time underwater, and more time underwater makes you a better photographer. Therefore, ambient light makes you a better photographer. Well, if only if were that simple.
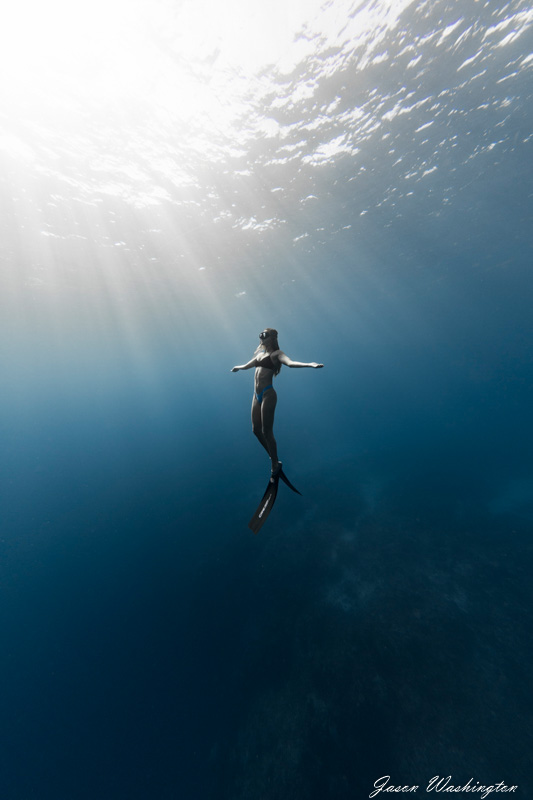
The second thing that I love about my strobe-less rig is its usability in the water. Take free diving for example. Kicking up and down with a fully rigged DSLR can be cumbersome and tiring for even the most experienced free diver. By removing the strobes, the rig becomes notably more streamlined, making for a much easier, sustained breath-hold. While this effect is less noticeable while diving on scuba, the biggest advantage I find here is getting in and out of the water. We all have that crazy jigsaw puzzle movement where we try and fold up the camera into a manageable position so the dive master can easily lift your baby from the water without damaging one of your many attached investments. It’s SO much easier without the arms required by video lights or strobes. Setup and breakdown is a lot easier with this configuration. There is no need for sync cords, less o-rings to clean, no strobe batteries to charge. This is something to consider if weight is a factor in your dive travel plans.
Having said all that, 90% of the time I’m carrying strobes on my rig. I don’t have to use them, but if the situation calls for artificial light, I’m ready to go. On some shoots, I’ll even carry video lights in conjunction with the strobes. This makes for one cumbersome beast on the surface, but prepares me for any situation I may encounter underwater. At the end of the day, do what you’re most comfortable with that will help you achieve the image you’re after
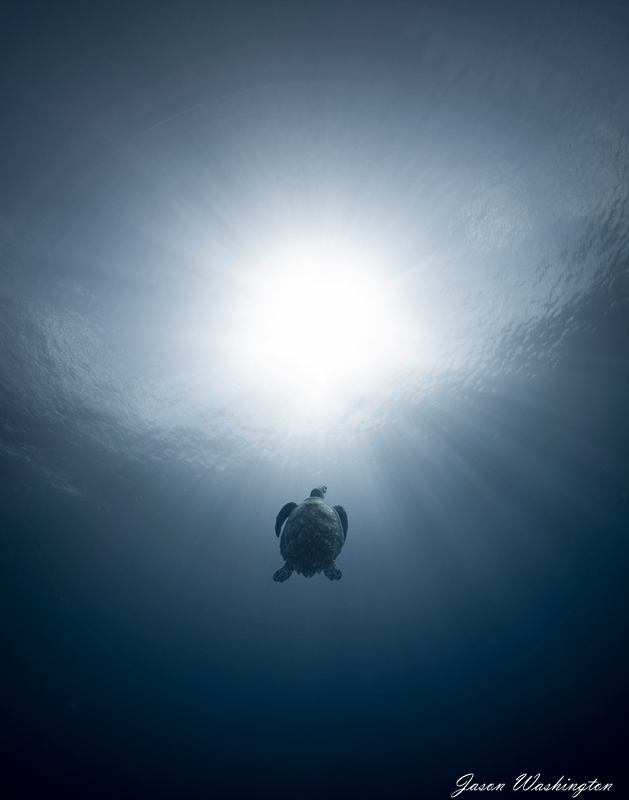
Natural Tone
The tonality of an image for me is key. It’s the main reason I prefer ambient light photography. Shooting ambient light will always give your water the natural tones provided by mother nature. This look is achieved by white balancing your camera to the ambient light. That’s not to say that this look can’t be achieved with the use of strobes. It certainly can. As a matter of fact, I often use my strobes on a very low setting to fill in some of the shadows on close subjects.
Frame Rate
Ambient light photography lets you push your framerate to optimal levels. My Canon 5D Mark IV has a maximum frame rate of 7 frames per second. This is one of the biggest advantages of shooting ambient light. I don’t have to wait on my strobes to recycle. Or if I am shooting my strobes, the setting is so low that they have no problem keeping up with the camera… for the most part. Capturing the split second when your subject is in the perfect position is much easier at a high frame rate. For this reason, when shooting ambient light, I ALWAYS shoot in high speed continuous mode.
Cons
Constant White Balance Changes
For me, the biggest drawback of ambient light photography is amount of attention needed to get it right. Let me explain. Every time the light changes you need to re-balance the camera. This means that if a cloud moves overhead, your scene will be overly cool. On the other hand, if you balanced the camera with a cloud overhead and it moves exposing the reef to the sun, your scene is overly warm and a new white balance is needed. Every 10 feet of depth gained requires a new balance. Conversely, every 10 feet of depth lost requires a new white balance.
Some will say, “I shoot in raw, so I can adjust white balance in post.” To some extent, that’s correct. For me, this is not an option. I want my image as close as possible in camera, so I constantly change my white balance when I shoot. Also, for those of you who think that shooting RAW is the solution to your white balance needs, remember, you can’t correct a color that doesn’t exist in your image.
Contrast
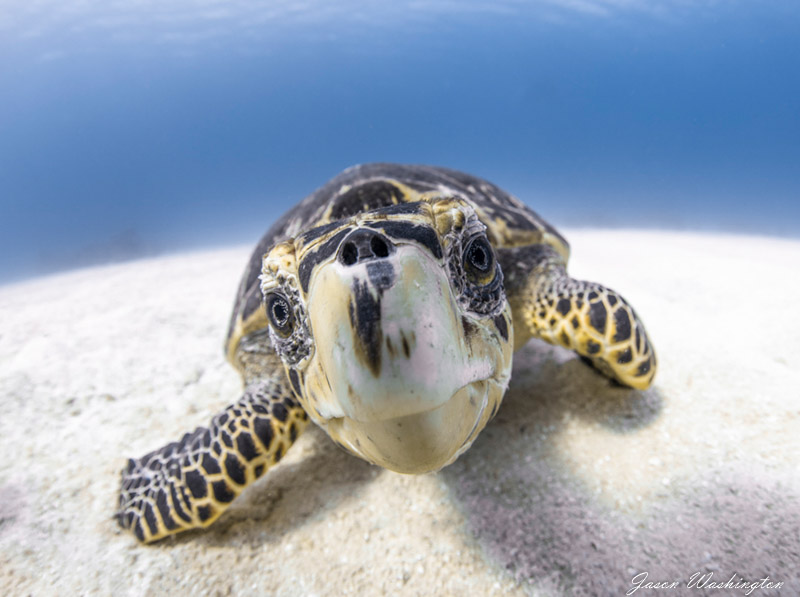
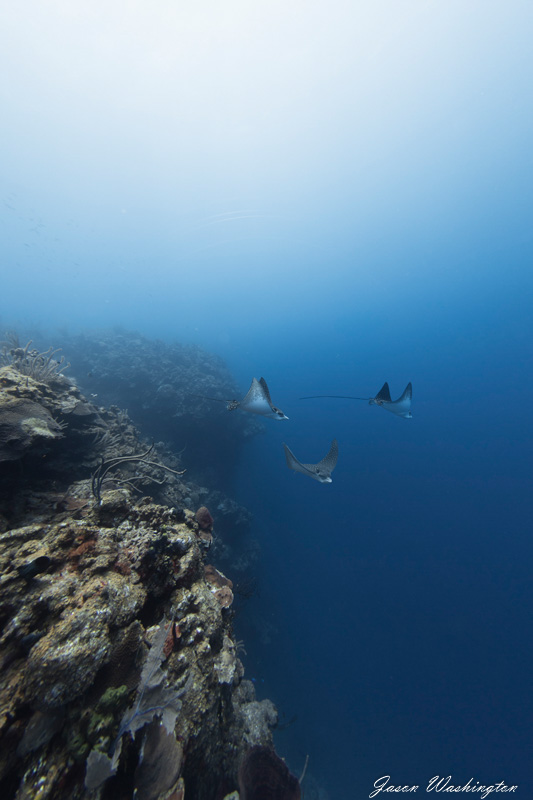
Adequate contrast in one’s photos is another issue when shooting without external lights. Separating your subject from the background is easily accomplished with artificial light. Ambient light photography requires you to place your subject against a contrasting background. My favorite background is a white sandy bottom, followed in close second by the beautiful blue water found at the edge of a drop off. These techniques require a little more work. Getting out in front of your subject is key to an amazing image.
Macro Photography
Macro photography is also not very well suited to ambient light. Often, the tiny subjects in macro and super macro need to be separated from the background with a combination of shutter speed and light. While this is possible with ambient light, it’s not nearly as cool as a well-lit snoot shot.
Night Photography
Night photography underwater with ambient light is pretty much a no-go as well. While there are many creative ways to light your subject underwater, they all pretty much involve flooding the scene with artificial light.
The path to amazing, natural, ambient light photos
Whether you choose to shoot only ambient light or add a little artificial fill light, the process is basically the same. To achieve this, one must be able to properly preform a custom white balance. This is a very simple process of telling the camera what is white at a given depth. While this process is different on all cameras, the environmental factors remain constant. Firstly, I recommend carrying a white slate; mine is fairly small – about four inches in diameter. It’s clipped to my BCD where it lives 24/7. This insures it’s never left behind and always at the ready when needed.
White Balance
Metering with your slate
When using a slate to balance your white underwater, the white card must ALWAYS be illuminated by your light source. This typically means sun over your shoulder, with the card held at arms length in-front of your lens. To properly preform this, you must first zero out the light meter in camera. This process is simple, but different on all camera models. If you’re new to underwater photography, simply throw the rig into full auto and take the shot. This will insure proper exposure. Now all you need to do is select the image and tell the camera to use it as white. Many of the new mirrorless rigs will have a simplified version of this whole process. But as mentioned, the basic function of illuminating the card and zeroing out the meter remains the same.
Custom white balance with mixed artificial and ambient light
I might also add, if you want to use artificial light in conjunction with ambient light, the process is basically the same. The one thing to keep in mind here when using artificial light is the distance to the subject. For example, if you plan on shooting a turtle with this mix of light, decide when you balance the camera how far you intend to be from the subject. If the turtle will likely be 3 feet from the camera, balance the camera with the white card three feet from the lens. You might find this process easier if you have your buddy hold the card. Other options are, find an area where the sand is nice and white and exposed to the sun. Fire your strobes here with your chosen distance and voila! Now you have a mixed-light, custom white balance. Some equipment manufacturers make white fins. These are great for balancing your camera without the help of a buddy. Mixed light with custom white balance can be a little tricky – always remember that if you move too close to your subject it will become overly warm. If you’re in a pinch and the turtle swims too close simply move back or turn down the power on your strobe. You can apply this same technique with video lights.
Base Line Settings
While all cameras will be different, the base line settings will be similar for most. I typically start out with my aperture wide open (lowest f-stop number). This allows me to get the maximum light to the sensor while keeping the camera as close to its native ISO as possible. Depending on the situation, I may even choose to close it slightly to increase depth of field if the light allows. My shutter baseline is 1/100th. Again, these are baseline settings, that give me a starting point from which to compose my first image. I find that 1/100 will sometimes give me motion blur – particularly when the subject is very close to the lens.
As mentioned, I like to keep the ISO at 100 (i.e., native ISO) if possible, so that’s where I start. If I’m shooting something that’s moving quickly, I’ll switch to auto ISO. A slow shutter and wide-open aperture will ensure it only goes up slightly, keeping the color noise at a minimum.
Conclusion
At the end of the day, shoot what makes you happy. Ambient light photography is a great option in underwater environments. Hopefully these techniques will help you get the most from your next underwater photography dive.
Happy Diving!
For more great photos and information check out Jason’s youtube and instagram accounts!
Further Reading
- Ambient Light Tutorials
- 10 Essential Ambient Light Underwater Photo Tips
- Ambient light underwater photography basics
- Canon 5D Mark IV Camera Review


