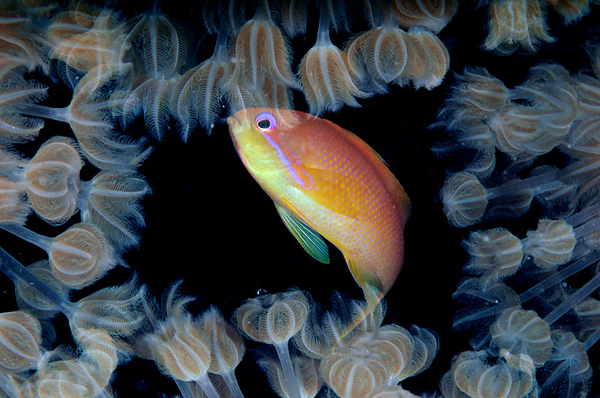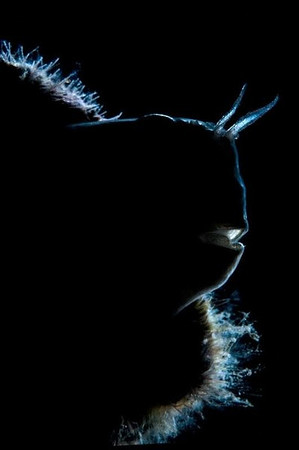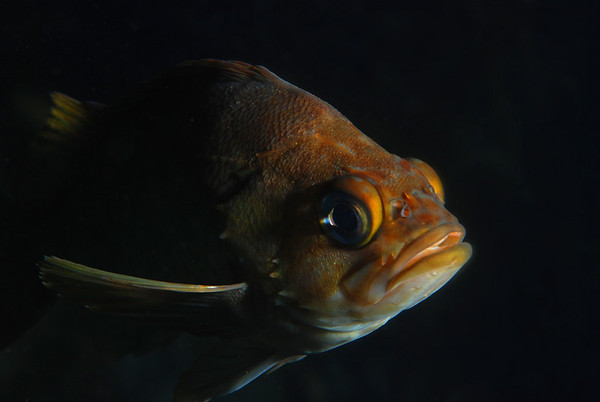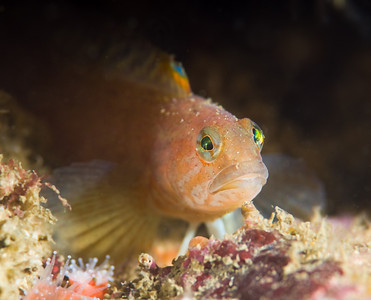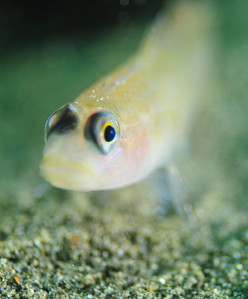
As you get more experienced in photography, you will spend more time researching your dive sites, diving the same sites repeatedly, and thinking about what type of photos you want to take. Previsualization is the act of visualized the subject, moment, and presentation (lighting, composition, background) you want to achieve on your next dive. Imagine your subject, think about it’s colors, textures, potential backgrounds, behavior. Plan out the best way to accomplish your shot. Previsualization is difficult to teach, I think it has to come with experience.
Blue backgrounds
-
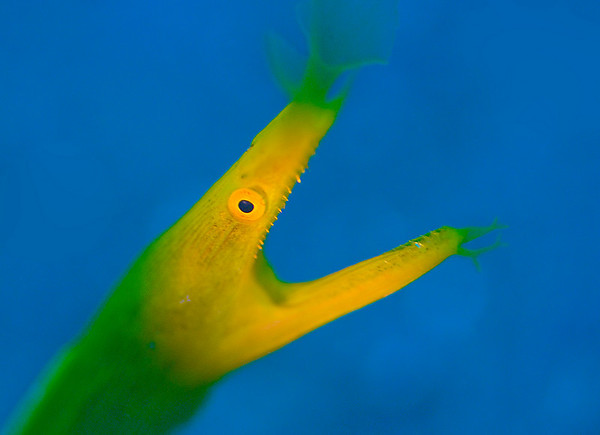
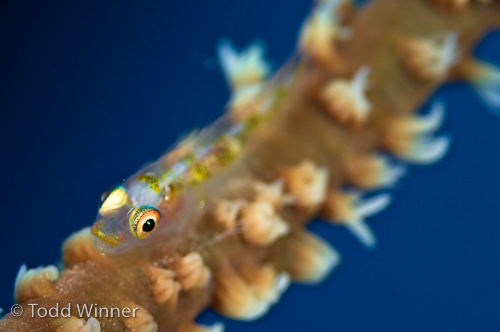
Blue backgrounds use a slower shutter speed (1/20th – 1/60th), and a larger aperture (F7-F13) to let in the natural light of the background. The strobe light is still used to light the subject. This works best if the ambient light does not brightly light the subject. Since the subject may be partially lit by ambient light, care must be taken to avoid camera shake, and a higher ISO setting may be useful in this case.
Ribbon Eel, Lembeh, Indonesia. Blue background are perfect compliments for yellow or orange subjects. Notice the diagonal composition, focus on the eyes, and how the subject is taken to the edge of the frame at the top.
Goby on whip coral, photo by Todd winner. 1/60th, F11, ISO 100, 105mm lens. There must have been a bright background when Todd shot this photo, to get the blue color at 1/60th.
Panning
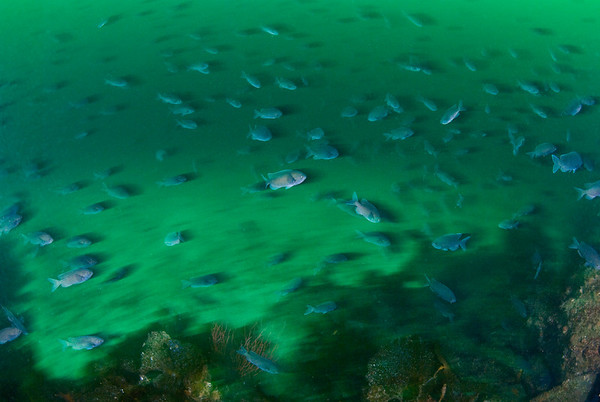
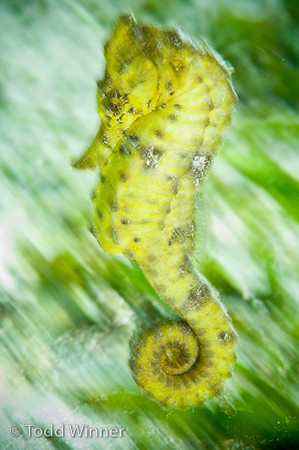
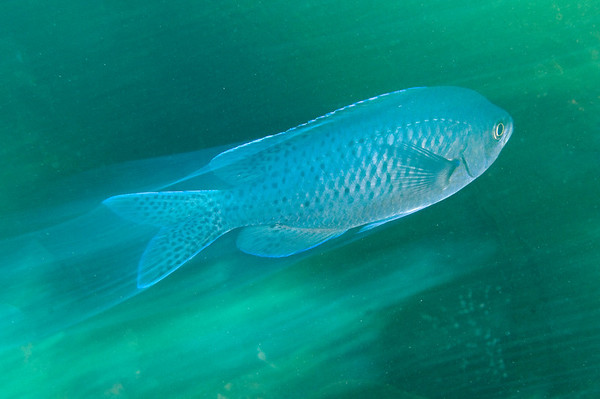
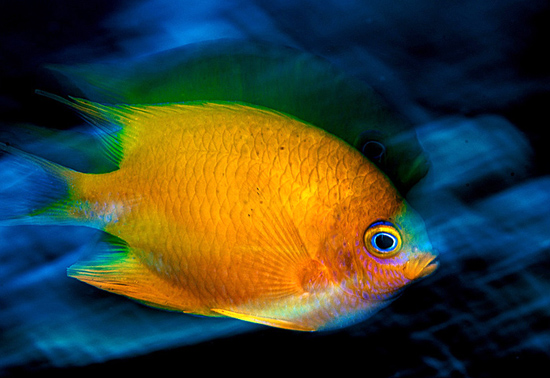
Panning involves following a moving object with your camera that is close enough to be lit by your strobes. A slow shutter speed is used, which will blur the background. Try different shutter speeds, between 1/5th – 1/15th of a second. The foreground subject (e.g. – a fish or school of fish), lit with your strobe, will be fairly sharp, due to the fast sync speed of the strobe. Panning is easier in low light conditions, where it’s easier to get slow shutter speeds. Bringing ISO down to ISO 100, and making the aperture smaller will also help.
Underwater photography panning tips
-
It helps to try this in darker, more dimly lit water so you can more easily get slower shutter speeds
-
The wider the lens, the slowly shutter speed you need. Mid-range zoom lens work well for this technique.
-
Try panning as the same direction the fish is moving, and the opposite direction
-
I’ve had success using aperture priority mode to determine a shutter speed. Dial in 1 to 1 1/2 steps of negative exposure compensation, and increase your F-stop until you get the desired shutter speed, say 1/4th of a second.
Blacksmith in motion, f8, 1/10th second shutter speed. The strobe firing at 1/1000th of a second froze the fish that were closest to the strobes. I panned the camera to blur the background, the effect can be most easily seen in the sand farther away.
Panning blurred the background in this photo by Keri Wilk. F18, 1/10th, ISO 200, D300, 105mm lens. The longer the lens, the more the background will get blurred while panning. The strobes froze the motion of the fish, which was probably not lit by very much ambient light, or we would have seen more of a trail in front or behind. To shoot this at 1/10th of a second, a small aperture was of F18 was needed, which meant strong rnough strobes and having a fairly close subject were also important.
Panning example, photo by Todd Winner. F13, 1/20th, ISO 100, 60mm lens. Panning is a little easier with a longer lens like a 60mm lens, because you don’t need as slow of a shutter speed to get that blurred effect in the background.
Panning while photographing this Blacksmith underwater. F11, 1/3rd of a second shutter speed.
Slow shutter speed
If a slow shutter speed is used with a moving subject (e.g. – school of fish), and the camera is not panned, the background will be fairly sharp, but the subject will show a trail of motion. A strobe set on low power can be used to highlight the subject at the front of end of the trail. By default, the trail will show in front of the subject, due to the fact that cameras default to front curtain sync (strobe fires before the shutter opens).
Here’s some slow shutter speed tips:
Use rear-curtain sync if possible for best results (see the next section)
Start off trying 1/10th – 1/20th of a second exposure. This can be difficult in bright water, lower your ISO (ISO 100) and set your aperture smaller (F11-F16) as needed. At small apertures, your strobes may not be strong enough, remove your diffusers if necessary.
The wider the lens, the slower the shutter speed much be. Fast moving fish do not need as slow of a speed.
Rear curtain sync
If you set your camera flash to rear curtain sync, you can use a combination of your strobe and slow shutter speed to get a trail behind a subject. The strobe will flash at the end of an exposure, just before the second mechanical curtain closes. Keep in mind that a TTL converter may not work in this mode, you may need to not use your TTL converter and directly connect your strobes to the housing. Try it out at home first.
Check to see if your camera / strobe combination supports rear curtain sync. It shouldn’t be a problem with Nikon, but Canon dSLR users will not be able to get rear-curtain sync unless they are using Canon E-TTL strobes, or the new SeaCam Seaflash 150 strobe.
Here’s a great explanation on how mechanical shutters work, showing the front and rear curtain:
http://www.shortcourses.com/use/using6-2.html
Rear-curtain sync example on a damselfish. F25, 1/3 second exposure, ISO 100. Photo by Rand McMeins.
Panoramic photos
Photos taken underwater can be stitched together to form a panorama, just like they can be done topside. This is popular for ambient light shots of reefs, large wrecks, and pier pilings. you will want the same exact lighting, white balance, etc. in each shot that will be combined. Try to get a 30-40% overlap between photos for best results, and try to avoid using a fisheye lens. Photoshop CS4 has a great build-in feature for combining photos into a panorama.
Double exposure
The double exposure seems to come in and out of favor. Some photographs feel that a double exposure does not depict marine subjects in their natural environment. Double exposure was a technique that originated in film cameras, and now many dSLR’s offer this feature too. Of course you can do it in photoshop.
What is a double exposure? Basically the camera combines two photographs into one photo. Usually a macro subject from one photo is combined with a sunball or reef shot from another photo. It looks quite artificial to some people, but others like them. The 1st photo often has a dark area in the top half of the photo. The 2nd photo will have a dark area in the bottom area. When combined, the effect looks something like this (see the starfish and nudibranch photos)
Quintuple exposure, photo by Keri Wilk. D300, 105mm, F22, 1/200th, ISO 200. 5 shots were taken in a row and automatically combined together in-camera by the D300 multiple exposure feature. One shot was taken of the fish, followed by 4 of the soft corals, with the fish shot taken first. Several attempts were needed to get a good combination. Taken while diving the red sea.
Backlighting with a strobe
-
Backlighting can work very nice for translucent subjects, either use long arms to place a strobe behind a subject when shooting macro, or have a strobe detached from your system on slave mode, that a buddy can hold, or you can have weighted down so you can set it down yourself.
Backlighting was used to emphasis the form of this blenny. Photo by Keri Wilk. Keri detached his two strobes from this arms and held them behind the subject in one hand. He took almost a hundred shots over two dives to perfect the lighting. This is the same blenny that is shown in the supermacro section.
Here are some notes from Keri on the lighting:
“Two strobes were used. A single strobe wasn’t giving a uniform outline of the blenny’s head, so I opted for a second. They were slightly off to the right, and on top of each other, separated by just a few inches, and pointed back toward the camera. The top one was pointed slightly upward, and the bottom was pointed slightly downward. Both were tilted slightly to the left also. I had both strobes attached at a single base point, so with one hand I could hold both of them in place (1-2 feet behind the blenny), and with the other hand I’d shoot. There was a lot of trial-and-error along the way though, it took two designated dives to really dial it in (along with a few other shot-styles that I messed around with).”
Circular bokeh shots
Lens shot with their aperture wide open will show circular patters in the blurred background, if the background is light enough. This can be a nice effect. Read about getting good Bokeh.
Dramatic shadows
Shooting macro with diffusers off , strobes close to the subject will cause dramatic shadows. This effect can be increased if the strobes are used at
One strobe without a diffuser casts dramatic shadows in this photo.
Underexposing photos
Certain colors, textures, and fish need underexposed to bring out the proper colors and details. Experiment with your exposures and don’t be afraid to underexpose some shots.
Narrow depth of field
Shots with a very narrow depth og fielcan have very dramatic looks. For the best effect, use a long lens like the 105mm, and shoot at F2.8-F7. The background will be nicely blurred, and the in-focus part will “pop” out.
Ronquil, shot at F6.3
Goby at Catalina island. NIkon d300, 60mm +1.4x tele, F4, 1/250th, ISO 200.
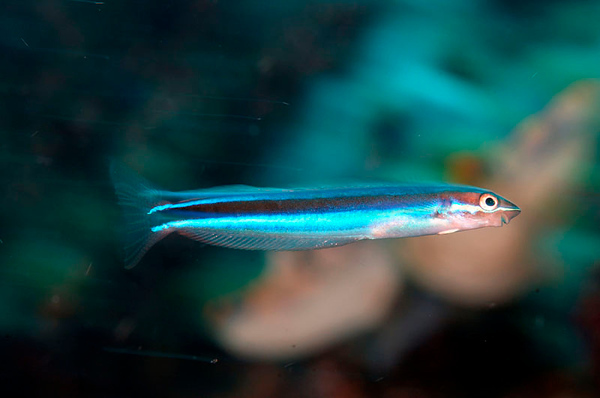
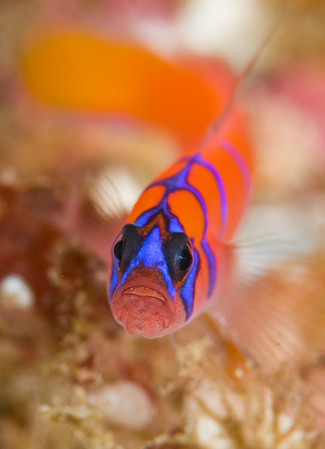
Blue banded-goby with selective depth of field. 105mm macro lens, F13, 1/250th, ISO 250
Lightboard
David Doubilet made the lightboard famous when he shot some nudibranchs on it, giving them the effect of glowing from behind. This can also be done from your buddy’s dive light, if the subject is placed on a translucent substance such as kelp, and the dive light is shown from behind.
Studio backdrops
Portable backdrops of different colors can be brought underwater and placed behind subjects for a custom background. The background will not be “natural” but it can help your subject stand out more for fine art prints.
Using a graduated density filter
For high-contrast shots such as sunballs, a graduated density filter can be used to reduce the top portion of a shot by 1-3 stops. Since the filter must remain in place for the entire dive, this technique is not often used. Still, it is one of the most used photos in landscape photography, and for shallow water shots showing the sun, it can be used to create some nice photos.
Zoom while shooting
Shooting at a slower shutter with a strobe, and zooming while shooting can produce an interesting background effect. The strobe will freeze the foreground subject. This will take a lot of practice. You want to hold the camera as still as possible. Try to zoom smoothly. Use small apertures to get shutter speeds of around 1/2 second.
Zooming an 18-55mm lens while taking a photo. F10, 1/8th shutter speed
Rotate the camera while shooting
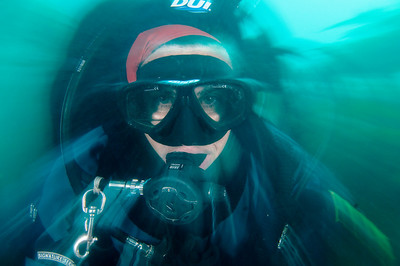
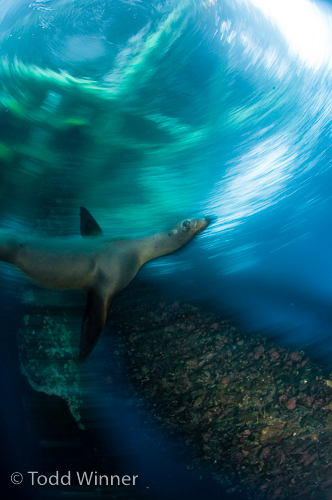
Rotating the camera while shooting at a slow shutter speed will create a circular blur in the background (ambient light lit) part of your photograph. the foreground will be brighter, strobe-lit and frozen by the quick burst of the strobe.
Rotating the camera while shooting. Photo by Todd Winner. F9, 1/8th, ISO 200, Nikon 10.5mm lens. Dark conditions made it easier to get a slow shutter speed for this shot on the California oil rigs.
There’s also a nice example of this effect here:
http://underwatercompetition.com/Photos/View/34211232043113
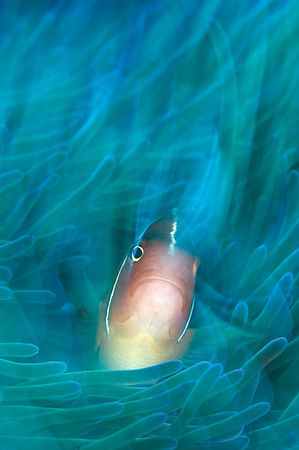
Rotation together with a vertical shift, done with a slow shutter speed. Photo by Keri Wilk. F18, 1/10th, ISO 200. D300 + 105mm. Anemone fish in papua new guinea. The trails area caused by the ambient light exposure, you can see how they go in different directions due to the rotation and the vertical shift together.
Using patterns over your strobes
A honeycomb pattern can be placed over strobes for more interesting lighting techniques. Read here if you’re interested.
Artistic Macro Shooting Tips
Read our full tutorial, recommended gear and photo Tips for Artistic Macro Shooting.
Tips for Dive Model Photography with Ambient Light
View amazing photos and learn some Tips for Dive Model Photography.


