How High Can You Increase Your ISO?
ISO is the black sheep of exposure settings. For many new photographers it can be difficult to understand what the setting is and what it does. We hope that this article will be a source of enlightenment (pun intended) for those of you wondering what you should do with your ISO setting when taking underwater photos.
What is ISO?
In the film days ISO was the agreed upon standard for light sensitivity in film. The acronym stood for "International Standards Organization." The higher the ISO, the more light sensitive the film was.
ISO and Digital Photography
With digital photography, ISO has become much more complicated. In order to truly understand what changing your ISO does, you need to understand how your camera works. When light initially hits your sensor, the photosites on your sensor generate a signal that feeds into an analog gain amplifier (think of a volume control on a radio). If there is not enough light reaching your sensor to expose a photo, you can increase the gain in the analog gain amplifier so that the camera can register the light. ISO controls the "volume" on the analog gain amplifier. However, changes in ISO do not translate to linear changes in the gain. The precise voltages that are applied will vary. And each camera company treats ISO a little differently - which has resulted in a destandardization of the setting. While ISO 100 generally means a similar amount of light will be recorded across brands, there are very slight variations between camera manufacturers.
The ISO setting itself has been designed in away to allow photographers to measure the brightness of their image rather than the precise change in voltage of the gain amplifier. For instance, if you increase your ISO from 100 to 200, your brightness of the image doubles - increasing by what is called a "stop" in the photo world. If the ISO changes from 400 to 200, your image will be half as bright.
After the analog gain amplifier changes the gain of the signal, the signal moves to the analog to digital converter (ADC). The ADC translates the analog input into discrete digital values. The digital values are processed by an image processor and written to your memory card as an image.
ISO and Noise
It's important to know the ADCs and the analog amplifiers on your sensor are both responsible for a secondary effect of changing your ISO - noise. You may have seen noise in an image before. It's that "staticky," pixelated look that you can often see in low quality photos or photos taken in really dark conditions. Generally speaking, the higher you increase your ISO, the more of that static and pixelation you get. Your image begins to look less clean.
Noise can occur at many different points in the pathway from photon to digital signal. The analog amplifier can introduce noise by simply increasing natural noise in the photo as you increase the gain (think distortion on a guitar amplifier). The ADCs can introduce noise if they are not accurate enough to convert the analog values into an accurate digital value. The accuracy of the ADCs is the bit-depth of your sensor (e.g., many cameras shoot 14-bit RAW).
What is a Base or Native ISO?
You may have heard the term "base" or "native" ISO. As the name implies, the base ISO of your camera is the lowest ISO value (i.e., analog amplifier voltage) that your camera can use for the cleanest photo. At your base ISO, your image will have the least amount of noise and highest level of dynamic range possible. The base ISO varies by camera but is generally between ISO 64 and ISO 100. If you ever see an extended ISO range, like ISO 50 or ISO 50,000, this means your noise and dynamic range levels will not change from the upper and lower limits of your native ISO range. We recommend not using these values.
***A note for video shooters: When shooting logarithmic video (e.g., S-LOG3, N-LOG, V-LOG, etc), you often use a different base ISO than photography because you are shooting with a different gamma curve. This value, usually around 640 to 800, may be different than your photo base ISO, but it is equivalent and the gain on the analog amplifier is the same.
If You Have Ample Light, Go Native
If you are shooting in extremely bright lighting conditions - think shallow, tropical water with extremely powerful strobes - then you should leave your ISO at the base/native ISO. This will provide you with the cleanest, most detailed image possible. Because your image has the maximum dynamic range available in your RAW data, it will be the best possible image for editing as you will be able to bring more details out of your highlights and shadows.
In most shallow, tropical dive conditions on sunny days, I tend to choose my native ISO or close to my native ISO (around ISO 100-200). I will often do a full day of diving in these conditions without changing my ISO once.
The Low Light Problem
Changing your ISO really comes into play when your dive conditions lack light. In tropical environments, this can be on a cloudy day towards the evening. In cold water conditions with limited visibility, this could be any time of the day. If you were to keep your ISO low in these situations, eventually the camera would not be able to register ambient light from the scene, resulting in a black background with the strobes lighting the subject. While it can be a good look for macro photography, for wide angle photography it can often be nicer to have blue or green from the water in your background to create depth.
A Conundrum of Compromises
Underwater photography is all about finding the right compromise. Initially, if you want to get more green or blue in your background in low light conditions, you'll need to lower your shutter speed and lower your f-stop. But what do you do when your shutter speed is so low that you are getting motion blur and your aperture is so wide that you are getting soft corners? You need to change the baseline by increasing your ISO. Once your ISO increases, you can make sure your shutter speed is high enough to reduce motion blur and your aperture is small enough to get details in your image.
How High Can I Raise My ISO?
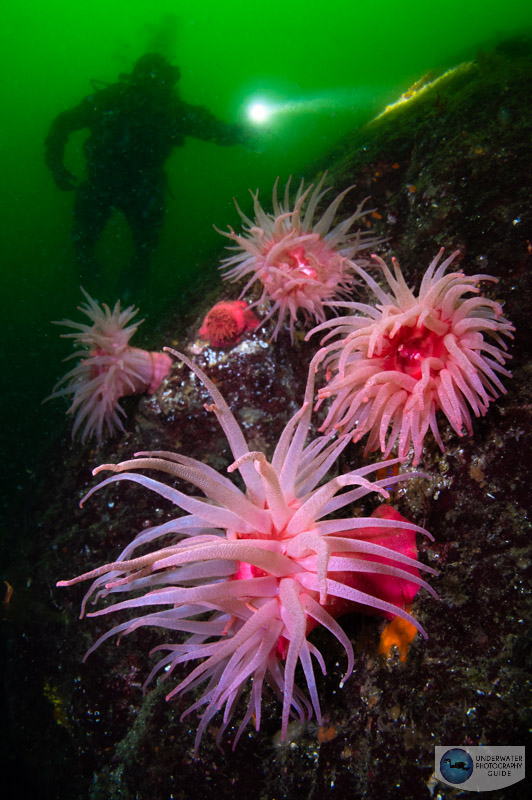
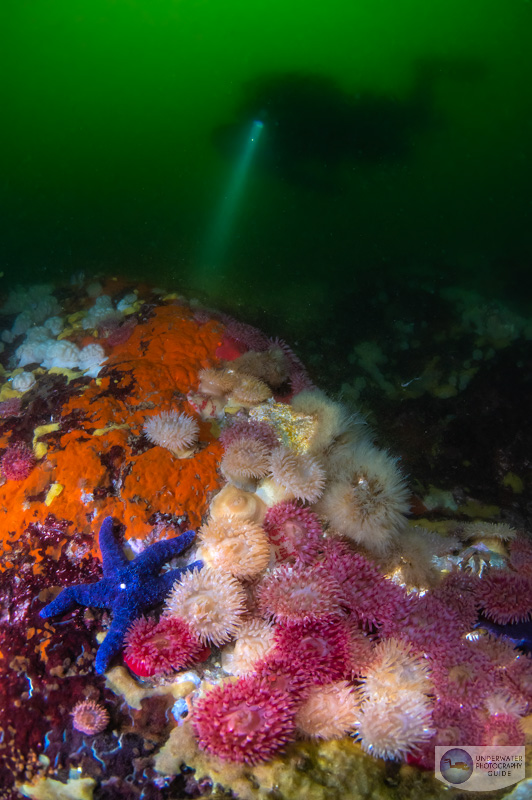
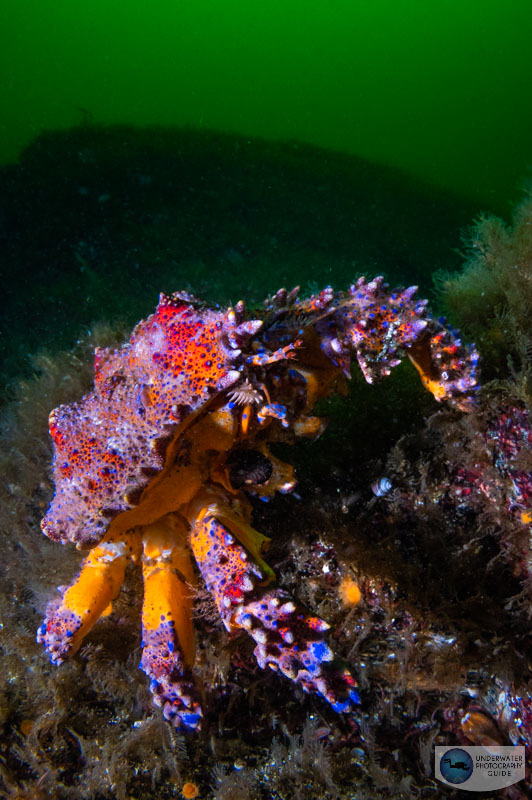
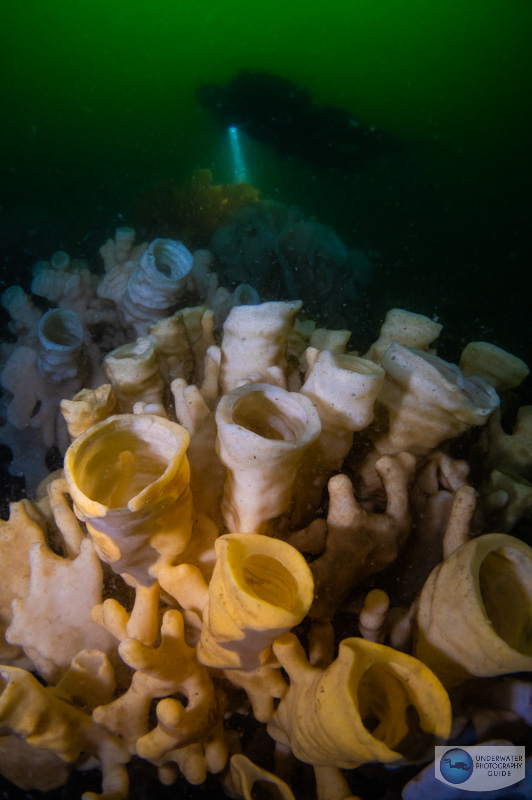
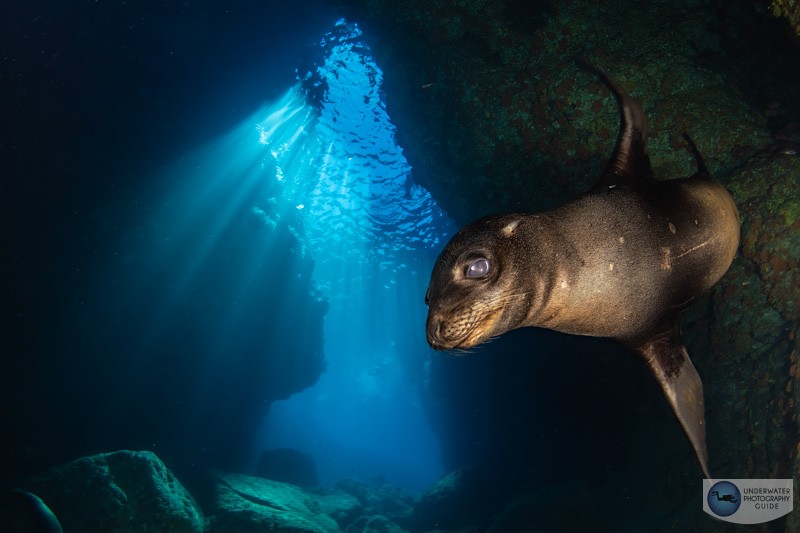
Although raising your ISO degrades the quality of your image, many modern cameras are very well equipped to deal with the higher range of the ISO scale. On a recent Canadian dive trip, I ran into some spring time visibility (about 7 ft), snow storms, and algae blooms. At 110 ft deep, the dive was almost like a night dive. So in order to capture colors in both my subject and background, I raised my ISO on my Nikon Z6 to 2500, kept my shutter speed at 1/15, and my f stop at f/11. This ensured sharp corners, and I kept myself very steady in order not to get motion blur from the slow shutter. As a general rule of thumb, your shutter speed should be at least 1/the focal legth of your lens in order not to get motion blur. In the shot below I was using a 15mm fisheye lens. Therefor, my focal length should have been at least 1/15. If you have a camera with in-body image-stabilization, you can often go even lower with your shutter speed for a bluer background, and avoid increasing your ISO.
***Protip: Shooting in a burst mode when taking photos with a slow shutter speed and high ISO can help ensure that at least one frame is captured without motion blur.
Considerations for Sensor Size
Before you increase your ISO, it's important to consider the physical design of your camera. Generally speaking, a larger sensor can collect more light and will produce less noise at higher ISOs. However, this really has to do with pixel size more than sensor size. A higher resolution camera will produce more noise than a lower resolution sensor.
So the ultimate camera for low light environments is a lower resolution sensor with a large physical size. One example of this is the Sony A7S III - a 12 megapixel, full-frame camera. The A7S III produces much less noise at higher ISOs than the high resolution Sony A7R V.
A good rule of thumb is that you should only push ISO on a compact camera to about ISO 400-640. A micro four thirds camera can go to about 800 before unusable levels of noise. An APS-C camera can be pushed to about 2000. Full-frame cameras vary wildly in their capability. The Sony A7S III can easily take photos at 12,800 with limited noise. The Sony A7R V might only be able to handle ISOs of 2000.
Dual Gain ISO Cameras
Some camera companies, like Sony and Panasonic, equip their cameras with sensors optimized for two different base ISOs. These sensors are built with two different well capacities on their photosites that can handle different levels of light. So when one well is switched to the other, the noise levels will drop at a certain ISO. This results in one base ISO around 100 with a minimal amount of noise. At higher ISOs the noise will increase until you get to your second base ISO where the noise reaches a second floor and decreases again. This can lead to a situation where your noise at 800 might be much higher than your noise at 1600. So with these cameras it is very important to know what your second base ISO is. In low light situations, it is better to start with your second base ISO. For the Sony a7S III, for example, this would be around 1600. If you have Panasonic or Sony camera, make sure you check what your second base ISO is before getting in the water.
The Implications of Increasing Your ISO
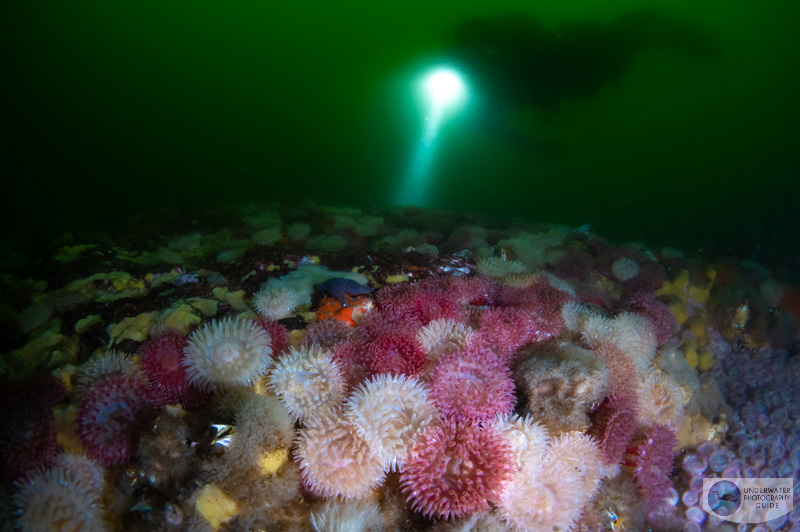
Increasing your ISO affects more than just noise. Ultimately it results in some natural clipping of your highlights and shadows, reducing your dynamic range. This means that when you shoot at an extremely high ISO, you may end up exposing the photo correctly. But when you go to edit, there might not be much detail collected outside of the area that is properly exposed. This can be an issue if you shoot into the sun or shoot a diver with a light as the light can easily be blown out in the image. An editing software, like Adobe Lightroom, will have more difficulty recovering data from the blown out or underexposed parts of an image than if the photo was taken at a lower ISO. This makes it essential that you expose your image properly when you are shooting at high ISOs.
Conclusions
Shooting at a high ISO may be taboo, but doing this can save an underwater photoshoot when dive conditions are so dark your backgrounds would be otherwise black. Increasing your ISO increases your baseline for adjusting your shutter speed and aperture - ultimately giving you more leeway to adjust these settings. Now if you have the light available, by all means, shoot at your base ISO. But sometimes, a bump in the ISO can mean the difference between a rainbow of color and a drab image.
Editor's note: This topic covered some advanced topics. Check out this video by Dan Fox for more info.
RECOMMENDED ARTICLES
SUPPORT THE UNDERWATER PHOTOGRAPHY GUIDE:
The Best Service & Prices on u/w Photo Gear
 Visit Bluewater Photo & Video for all your underwater photography and video gear. Click, or call the team at (310) 633-5052 for expert advice!
The Best Pricing, Service & Expert Advice to Book your Dive Trips
 Bluewater Travel is your full-service scuba travel agency. Let our expert advisers plan and book your next dive vacation. Run by divers, for divers.


